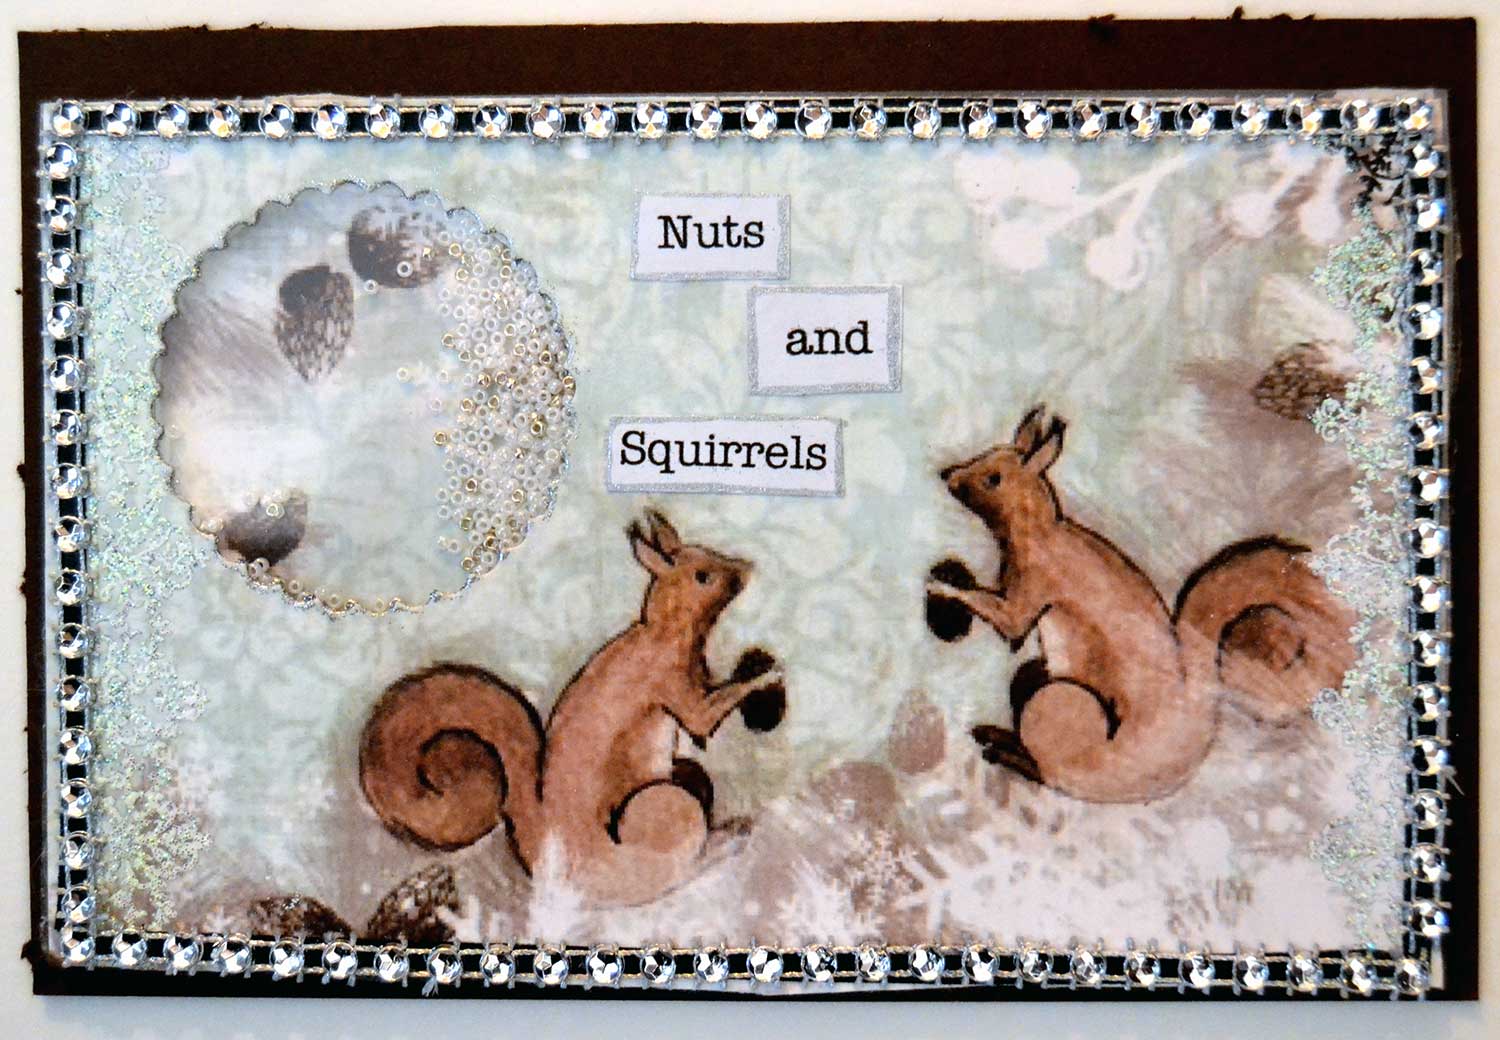
Nuts and Squirrels Shaker Card Journal Page Tutorial. This festive journal page was made for a group swap. The theme was “Nature Journal”. This is more of a walk through my process than an actual tutorial.
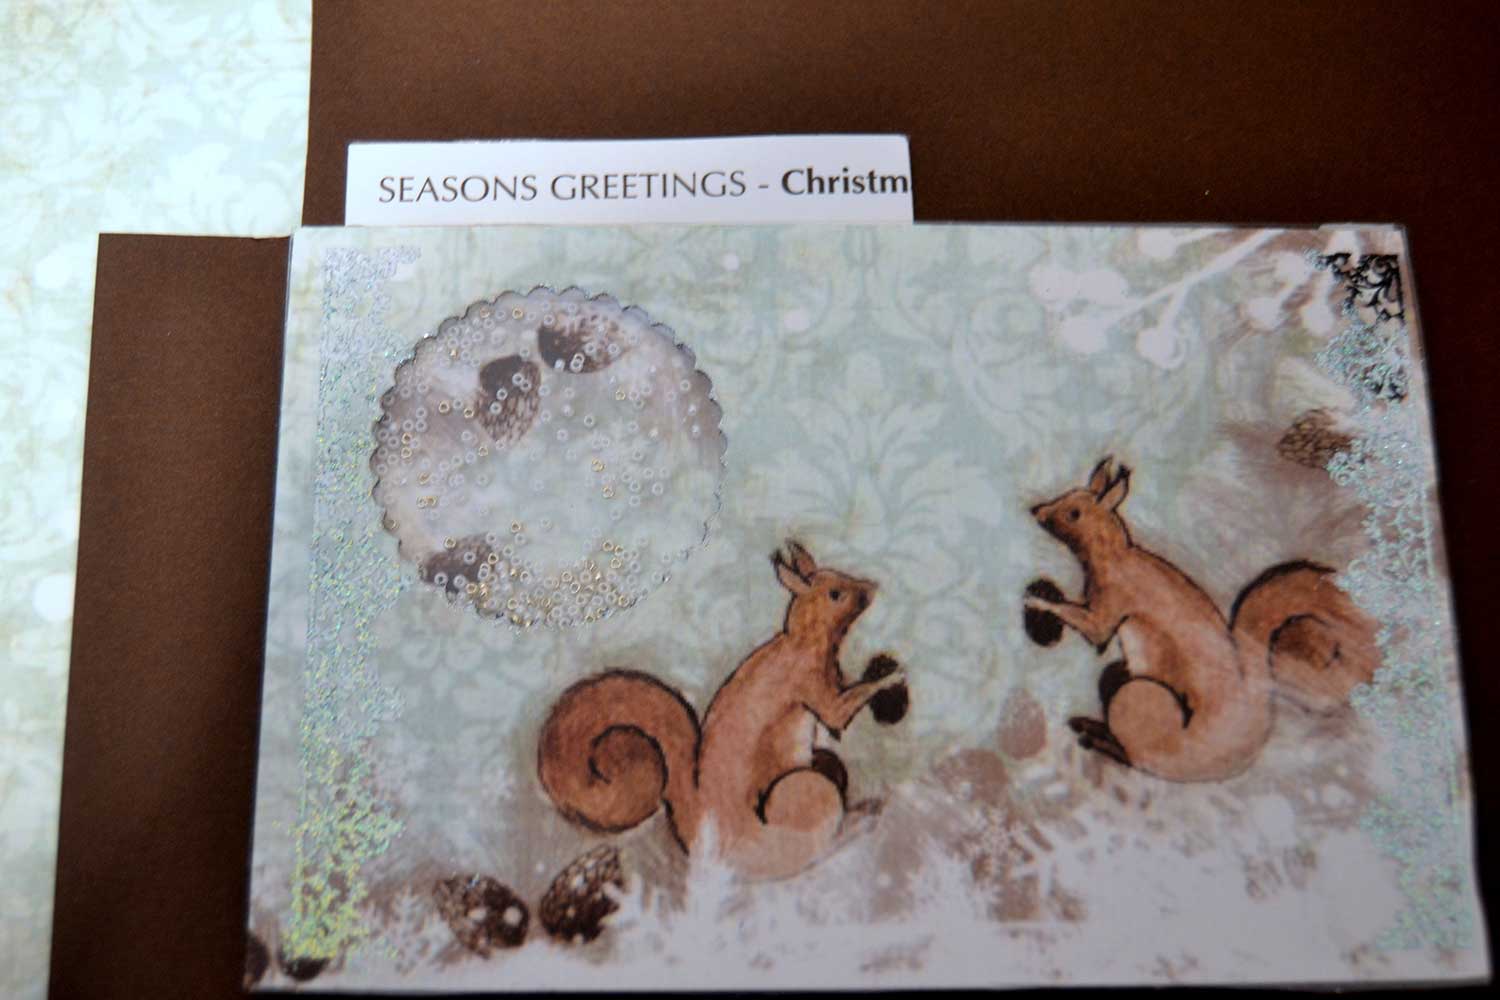
For this page I wanted to add a shaker element. To do this I chose a paper by Panduro, entitled Seasons Greeting Christmas in the Woods. Unfortunately, I don’t think it is available any more but there are so many gorgeous scrap book pads out there, that I’m sure it is possible to find something just as suitable.

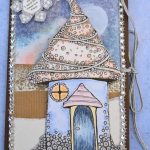
Nuts and Squirrels Shaker Card Journal Page
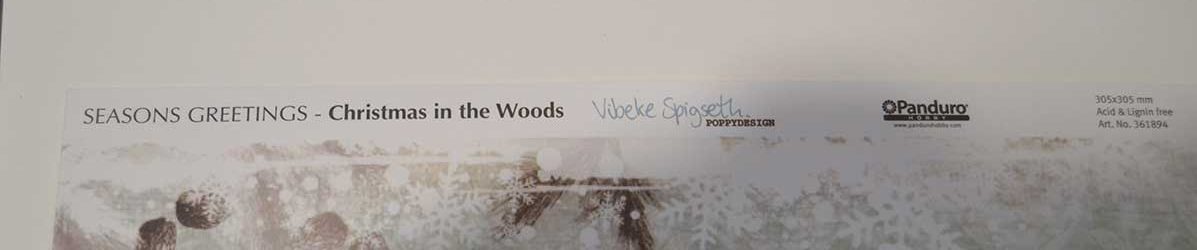
Seasons Greeting Christmas in the Woods
The first step was to choose the paper and then cut a piece 5.5″ x 3.75″. The reason it is 5.5″ instead of the normal 5.75″ is because there needed to be extra brown at the top for punch holes when put into a journal. If you just wanted a shaker card, you could cut it to 5.75″ x 3.75″.
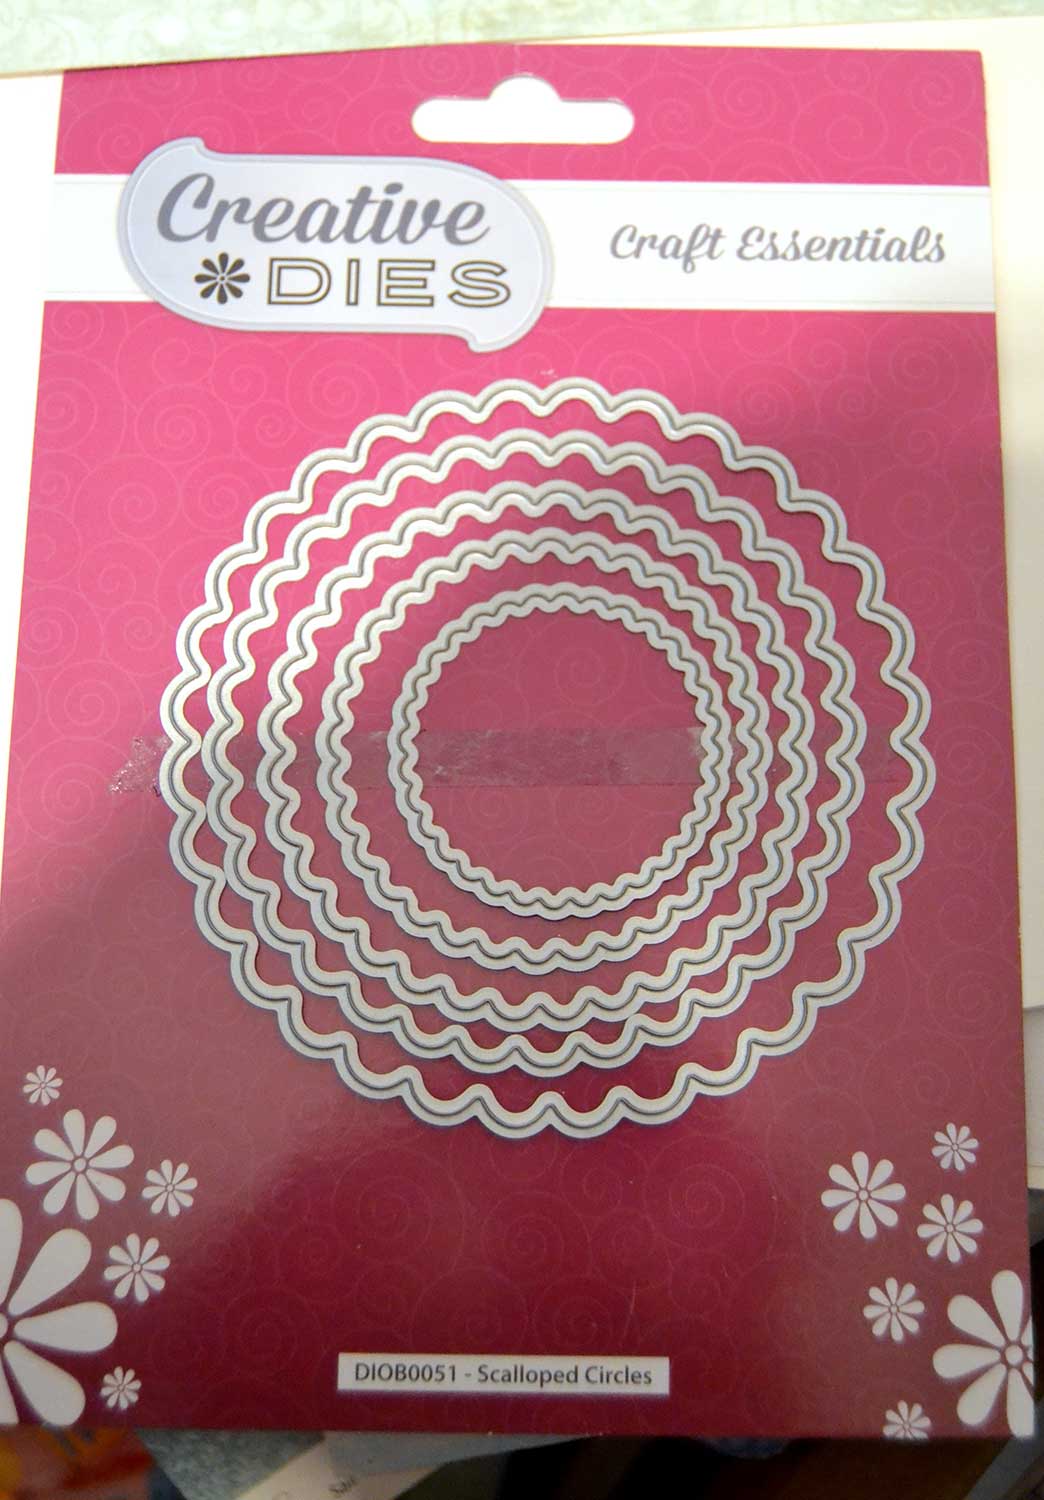
Circular scallop edge cutting die

Cut circle using a die
To cut the circle, I used a Creative Die scallop edge circle. If you don’t have a die cutting machine you could use a circle punch. It would need to be about 1.75″ or 2″ diameter.
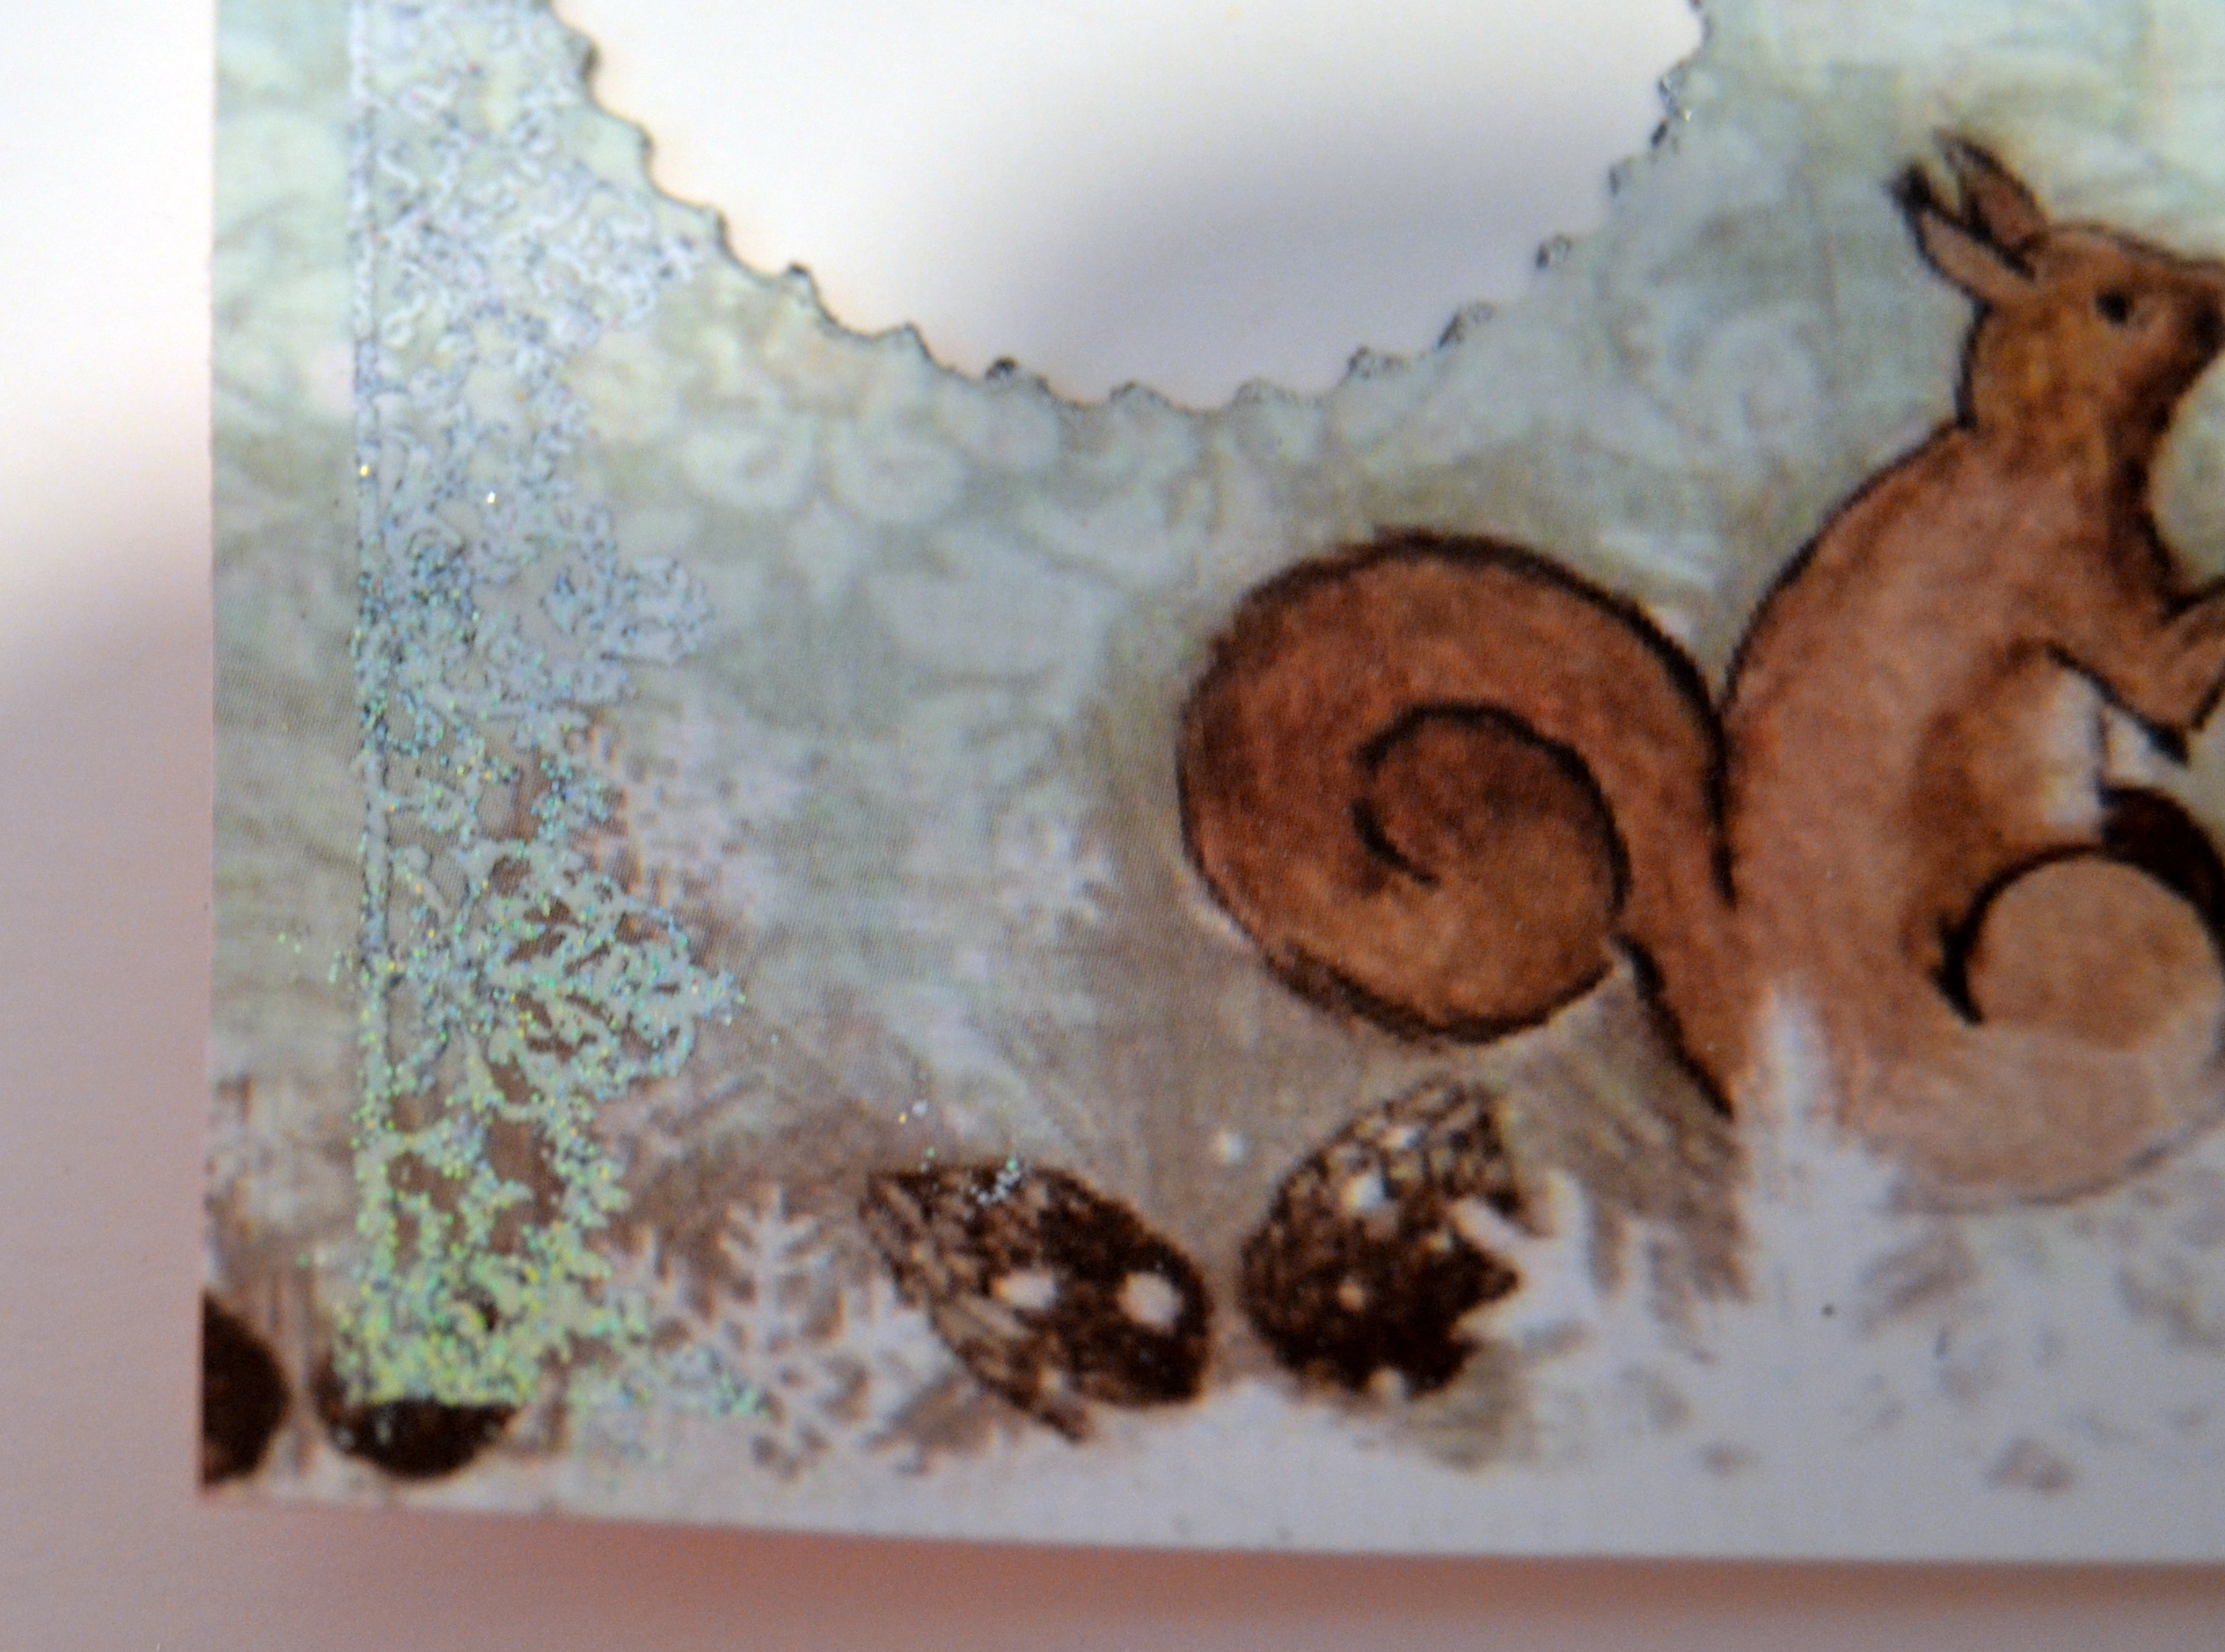
Border stamp embossed with WOW embossing powder, snow and edge of circle Glitter Kissed in silver

Double sided foam tape around the circle and edges
I then used a border polymer stamp with Versa Fine black ink and embossed it with WOW embossing powder, snow. This could be done with an embossing pad, but I like to use ink as you can then see what you have stamped. I find that the embossing powder covers the ink so you don’t see much of the colour. You could use any colour. I used black because I had it at hand, but a paler, matching colour would work just as well. I also used a bit of silver Glitter Kiss around the circle edge to make it stand out. Using double sided tape, stick a piece of acetate onto the back. I made the acetate the same size as the paper to strengthen it. If you were using card you could get away with just cutting enough acetate to cover the hole with a bit extra to spare.
The next step is to used double sided foam tape to put around the back of the circle and edges of the card. If you miss a bit of tape around the edge, it’s not a problem. However, it is important to make sure there are no gaps around the circle.
Positioning the card

Sprinkle size 15 seed beads inside of the circle
Once this is done you need to find an image which you want to show under the acetate circle. I chose another part the paper page and cut it a about an inch larger than the cut circle. It then needs to be stuck to some card. Because you will be working upside down, you need to mark a point where your top left corner is going to be. I found the easiest way was to cut it as in the diagram above. Turn the card upside down and put some size 15 seed beads in the circle. Peel off the strips and stick the card with the element face down so that the cut corner lines up with the paper. You then have the shaker part completed. Either trim the card right down and mount on a 6″ x 4″ card or trim the existing card to 6″ x 4 eaqually around the sides. I had a bit of extra paper showing so I had to trim to size and then mount. You can use sequins instead of beads, but they tend to get a lot of static. I find seed beads work better.
Mount the card onto a 6″ x 4″ sheet of contrasting card

Back of shaker journal page
Finally, you can decorate with embellishments. I used Bling on a Roll to tidy up the edges and found a squirrel poem to put on the back. This makes a lovely nature / winter journal page.
I also add silver glitter pen highlights. These were just cheap ones I bought from WH Smiths and they are excellent. I was really surprised as I thought they would be awful. They are really glittery. After I coloured it and cut it out, I highlighted the edges with silver Glitter Kiss.
I then started to work on the background. I used Distress Ink and Distress Oxide and a sponge tool to blend them. The colours I used was Spun Sugar for the Distress Ink and Broken China and Faded Jeans for the Distress Oxides. I then sprinkled it with some BrushoSprinkleIt pearl then used a water spray and heat gun to dry it. The effect is a slight sparkle.
Once this was done I used a normal circular stencil and gesso for the moon, and clear texture paste with glitter and a star stencil. That gave me 3 (4 if you count the texture paste) out of 6 of the mingle requirements.
I then decided to use brown paper for the hill. I stamped this with a Lavinia Stamps polymer border stamp and then applied WOW silver embossing powder. It is amazing once heated and becomes really glittery. I then cut round the top of the stamped image and a bit extra below and placed it just over half way up. I used craft foam for the snow giving it the fifth step of texture. The final touches were to place the house over the top and make a snow flake with the words “All I want for Xmas is a Fairy”. This I did in Photoshop and then cut it out and Glitter Kissed the edges.
The last step was the bling. I used Bling on a Roll. Voila, all the steps completed. I then made the card the same way as I did for the Sugar Plum Fairy except I cut the card to 12″ x 4″ (6″ once folded). I also used the Digi Stamp by Lavinia Stamps, Christmas Eve. The background papers are by Santoro. For instructions on how to make a pop-up please see my other post, The Sugar Plum Fairy.
[geoip_detect2_show_if country=”GB”]{{CODEnutssquirrelsuk}}[/geoip_detect2_show_if]
[geoip_detect2_hide_if country=”GB”]{{CODEnutssquirrelsus}}[/geoip_detect2_hide_if]